PSD Repair is a great program, well worth the money. For me, it succesfully recovered several heavily corrupted photoshop files that other
Overview
Features
How to Recover
More Information
Related Products
Why DataNumen PSD Repair?
#1 Recovery
Rate
10+ Million
Users
20+ Years of
Experience
100% Satisfaction
Guarantee
Our Customers' Testimonials
... Read more
PSD Repair is a great program, well worth the money. For me, it succesfully recovered several heavily corrupted photoshop files that other (free) progams could not deal with. Saving me a lot of time and frustration.
W. de Winter
iconoclastica
Wageningen, Netherlands
January 4th, 2024
Dear DataNumen Staff
I thank you for making "DataNumen PSD Repair". I had one old
file which I have been holding on to since 2000. It was created
Dear DataNumen Staff
I thank you for making "DataNumen PSD Repair". I had one old
file which I have been holding on to since 2000. It was created in
PhotoDeluxe, in a PDD version Photoshop could not read.
You have no idea how happy I was to check back, download, and successfully
rerun your software on this single file.
Thanks,
Bruce S.
Hillsborough, NJ, USA
Extremely Simple Interface
Repair
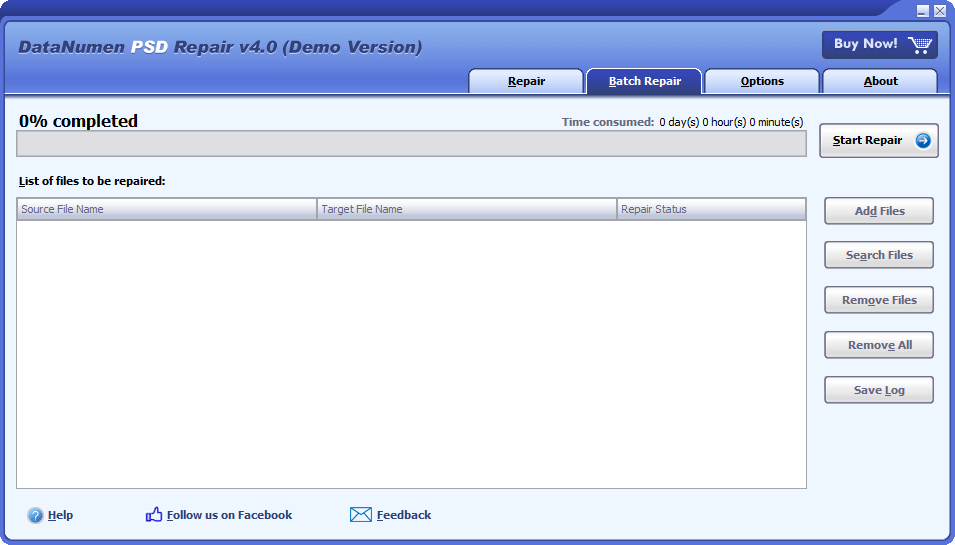
Batch Repair
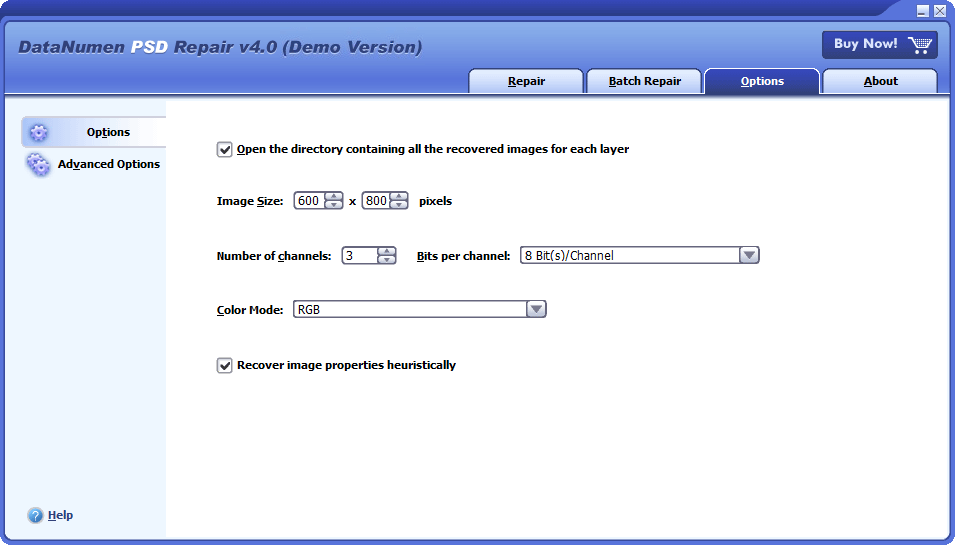
Options
Free Download20+ Years Of Experience
Buy Now100% Satisfaction Guarantee
Main Features
- Recover PSD files and PDD files produced by all versions of Adobe Photoshop.
- Recover the image as well as the separate layers.
- Recover pixels, dimension, color depth and the palette of the image and layers.
- Recover uncompressed and RLE compressed images.
- Recover PSD files with depth of 1, 8, 16, 32 bits per channel.
- Recover Photoshop files with color mode of bitmap, grayscale, indexed, RGB, CMYK, mutlichannel, duotone, lab.
Free Download20+ Years Of Experience
Buy Now100% Satisfaction Guarantee
Using DataNumen PSD Repair to Recover Damaged Photoshop Images
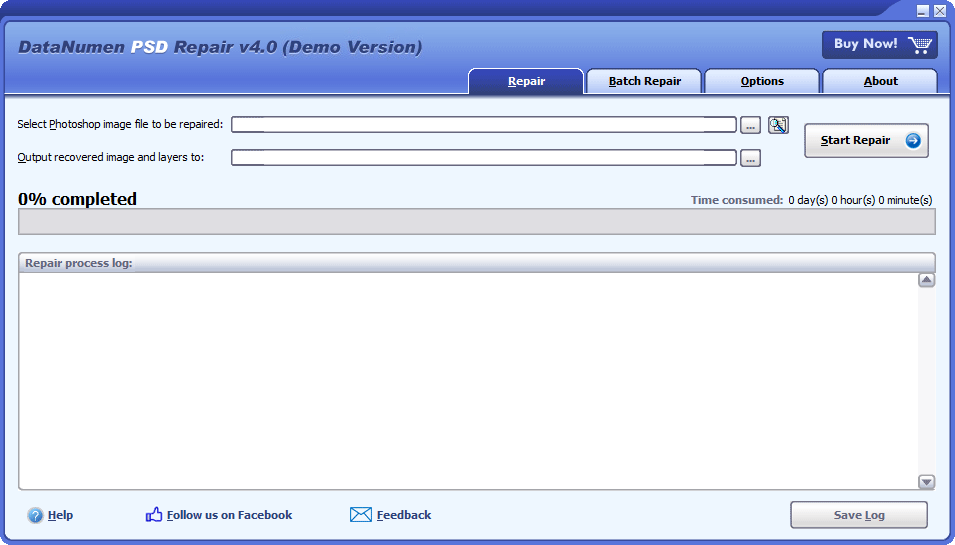
Start our Photoshop file recovery software.
Note: Before recovering any damaged or corrupt PSD file with our repair tool, please close Photoshop and any other applications that may access the file.
Select the corrupted Photoshop file to be repaired:
![]()
You can input the PSD file name directly or click the ![]() button to browse and select the file. You may also click the
button to browse and select the file. You may also click the ![]() button to find the PSD file to be repaired on the local computer.
button to find the PSD file to be repaired on the local computer.
By default, DataNumen PSD Repair will scan the source PSD file, recover the merged image and layers, and save them as separate image files. The recovered image files are outputted into a directory named xxxx_recovered, where xxxx is the name of the source PSD file. For example, for source PSD file Damaged.psd, the default output directory for the recovered image files will be Damaged_recovered. If you want to use another name, then please select or set it accordingly:
![]()
You can input the directory name directly or click the ![]() button to browse and select the directory.
button to browse and select the directory.
Click the ![]() button, and our PSD file recovery tool will start scanning and repairing the source PSD file. Progress bar
button, and our PSD file recovery tool will start scanning and repairing the source PSD file. Progress bar
![]()
will indicate the repair progress.
After the repair process, if the source PSD file can be repaired successfully, the merged image and the layers in the PSD file will be saved in the output directory specified in step 3. And you will see a message box like this:

Now you can open the recovered image files in the output directory with the corresponding applications.
More Information
How to recover unsaved Photoshop files?
There are some free ways to recover unsaved Adobe Photoshop files.
1. Recover unsaved Photoshop files with the Open Recent function
You can try to recover unsaved PSD files from the Photoshop recent file list, by using the “Open Recent” function, as below:
- Start Adobe Photoshop.
- Click File > Open Recent.
- If your unsaved Photoshop file appears in the recent file list, click to open it.
- If Photoshop can open the file successfully, click File > Save As to save the file with a new file name.
This method works for both Windows and macOS.
2. Recover unsaved Photoshop files with the AutoSave feature
Photoshop has an AutoSave feature that will automatically save recovery information every few minutes. In the new versions of Photoshop, this feature is enabled by default. But in the old versions, this feature may not. So you’d better confirm this option is enabled and set the save interval by:
- Start Photoshop.
- Click Edit > Preferences > File Handling …
- In the File Handling section, in the File Saving Options, you can see Automatically Save Recovery Information Every ### Minutes.
- You can change the option or set the Photoshop AutoSave interval.
If Photoshop crashes before you save the image, then the next time when you start Photoshop, it will auto recover the unsaved PSD files from the Photoshop AutoSave recovery information. But, if Photoshop does not perform the auto-recovery, then you can recover Photoshop files manually.
(1) In the Windows system:
- Go to the Photoshop AutoSave folder at C:\Users\###\AppData\Roaming\Adobe\Adobe Photoshop CC 2019\AutoRecover, where ### is the current user name. If you are not using Photoshop CC 2019, then just go to C:\Users\###\AppData\Roaming\Adobe\ and find the folder that matches your Photoshop version.
- If you can find the wanted file in that folder, then you can try to open it in Photoshop.
(2) In the Mac system:
- In the Apple menu, click Go > Go to Folder.
- Input Photoshop AutoSave folder ~/Library/Application Support/Adobe/Adobe Photoshop 2020/AutoRecover, then click Go. If you are not using Photoshop 2020, then just go to ~/Library/Application Support/Adobe/ and find the folder that matches your version.
- In the AutoRecover folder, find your wanted image file.
- Open the image file in Adobe Photoshop.
- Click File > Save As to save it with a new file name.
3. Recover unsaved Adobe Photoshop files from temporary files
When you edit an image file, Photoshop will save the data in a temporary file as well. If a crash occurs and you cannot recover your image from the AutoSave recovery information, or the AutoSave feature is not enabled, then you can try to find the Photoshop temp file from the temp folder and recover it.
(1) In the Windows system:
The temporary files created by the system are usually put in %systemdrive%\Windows\Temp folder. And the temporary files created by the user when he runs some software are usually put in %userprofile%\AppData\Local\Temp folder, or more simple, in the %temp% folder.
For most of the cases, the temporary files created by Photoshop is specific to a user. So you should go to the user-specific temp folder, as follows:
- Click the Start Menu.
- Input %temp% in the search box and press Enter to open the temp folder.
- You can also input %temp% in the address bar of File Explorer to open the temp folder.
- In the temp folder, find the temporary file for your image.
- Change the file extension from .tmp to .psd.
- Open the file in Photoshop.
(2) In the Mac system:
- Click Finder > Application > Terminal to open the terminal.
- Input open $TMPDIR and press Enter.
- Go to Temporaryitems, and find the Photoshop temp file for your image.
- Change the file extension to .psd.
- Open the image file with Photoshop.
How to recover deleted or lost Photoshop files?
1. Recover deleted photoshop files from the Recycle Bin
You can utilize the Windows Recycle Bin to recover deleted Photoshop files, as follows:
- Open the system Recycle Bin.
- If the deleted PSD file exists in the Recycle Bin, right-click the file and select Restore to recover deleted PSD file.
- Go to the original location of the file and open it with Photoshop.
This method works in the Windows system only.
2. Restore the parent folder to the previous version
Another way is to restore the folder containing the file to the previous version, as below:
- Start Windows File Explorer.
- Find the folder containing the deleted Photoshop file in the past.
- Right-click the folder and select Restore previous versions to restore the folder to its previous version, so to recover deleted PSD files.
- After the folder is restored to the previous version, open it.
- If your deleted Photoshop file is restored, open it with Photoshop.
This method works in the Windows system only.
3. Recover deleted or lost Photoshop files via Time Machine
In the Mac system, if you have turned on Time Machine, you can also use it to recover lost Photoshop files, as below:
- Connect the Time Machine backup hard drive to your Mac system.
- Click Time Machine in the Dock.
- In the Time Machine, find your lost PSD file, then click Restore to recover the lost PSD files.
4. Use Data Recovery Tool to Recover Lost PSD Files
If the above two methods fail to recover lost or deleted Photoshop files, you can try a professional data recovery tool to scan the whole hard drive and recover lost data for you.
Currently, our tool only works for Windows systems. If you need to recover deleted files on macOS, you can search online to find such a tool.
How to undo changes on PSD files?
You can restore PSD files to previous versions to undo the changes, as below:
- Start Windows File Explorer.
- Find the file to be restored.
- Right-click the file and select Restore previous versions to restore PSD file to its previous version, so to undo the changes.
- After you restore PSD file to the previous version, open it in Photoshop.
- Click File > Save As to save the PSD file as a new file name.
Which file types are supported?
Our file repair software supports both PSD(Photoshop) and PDD(PhotoDeluxe) image file types. And it supports all versions of these file formats.
What is the PSD file format?
PSD is the native file format used by Photoshop. It can contain multiple layers, objects, and images. And it supports up to 30,000 pixels in height and width.
Do you support the PSB format?
PSB is called Photoshop big image format. It is used for images larger than 30,000 x 30,000 pixels in dimension, or 2 GB in size. PSB is nearly identical to the PSD format, except that it is designed for big images.
Currently, we have not tested our file recovery software with the PSB files. But since the PSB format has a data structure similar to the PSD format, our data recovery software should also work on it.
Why Photoshop PSD file will get corrupt?
There are many reasons that will cause PSD file corruption, including Photoshop crashes, too large dimensions of the images, oversized image files, hard drive failure, unplugging external hard drive/flash drive/SD card during data transfer, interruption of network connection, viruses, etc. We recommend you:
- Enable the AutoSave feature in Photoshop, so that Photoshop will AutoSave recovery information for you, which can be used in data disasters.
- Have our file repair tool on hand. So whenever you cannot open corrupted Photoshop files, you can use our data recovery software to repair corrupt PSD files. So to get back lost data.
How to recover Photoshop files in Mac systems?
Our Photoshop recovery tool cannot run in Mac systems directly. But you can still use it to recover PSD files in Mac, as below:
- Copy the PSD image from the Mac system to a PC/Windows system.
- Install our file recovery software on the PC.
- Use our file recovery software to recover the PSD image.
- Copy the recovered data back to the Mac system.
Will you output a fixed Photoshop file?
No. Currently, our Photoshop file recovery tool will output the main image and all layers to a folder.
How long will it take to repair PSD files?
It depends on several factors to repair PSD files with our file repair tool:
- PSD file size.
- The dimension of the image.
- The total number of layers in the PSD file.
- The hardware/software configuration of the computer.
What is the difference between the demo version and the full version?
The demo version will add a “Demo” watermark to all the output files. While the full version does not have such a limitation.
Which versions of Adobe Photoshop are supported?
Our PSD file recovery tool does not need Photoshop to run properly. And it can repair Photoshop PSD files created by Adobe Photoshop CS, Photoshop CS2, Photoshop CS3, Photoshop CS4, Photoshop CS5, Photoshop CS6, and Photoshop CC/2014/2015/2017/2018/2019/2020/2021/2022.
Need I close the Photoshop application when using your PSD file recovery tool?
No. Since our Photoshop data recovery software will never use the Photoshop application during the recovery process, you do not need to close it.
What are the requirements to install your repair tool?
Below are the software requirements for our file repair software:
Windows 95/98/ME/NT/2000/XP/Vista/7/8/8.1/10 or Windows Server 2003/2008/2012/2016/2019. Both 32bit and 64bit systems are supported.
Does your file repair tool support Windows 11?
Yes, the latest version of DataNumen PSD Repair fully supports 32bit and 64bit versions of Windows 11. But we have not included this information in the official website yet.
Can your Photoshop file recovery tool fix the “File is not compatible with this version of Photoshop” error?
Yes, you can use our repair tool to repair the PSD file with such an error. After the repair process, the main image and all layers will be output to a folder so that you can reuse them.
Related Products
 DataNumen PSD Repair